At that time as I said, I new almost nothing about painting historical figurines. So I didn't know either that the metal figure was in fact a copy after an Elite Miniatures original. Only a few years later I found in a modeling magazine took from a vacation in Greece that it existed also an original.
I kept it until now. A few days ago I was inspecting a 75 mm Mughal Warrior (Mogul) from Pegasso and start reading about them on the net. I found out that Mughal or Moguls was a branch of the Mongols that invaded the north states of India and established an empire that lasted well into 19th century. Well in fact remains of it does.
So I also remembered my Mongol. Being completely assembled I thought it will be a good exercise to start painting it to prepare my hand and aesthetics in my head to deal with Asian subjects (in 2017 I will also receive an order for Genghis Han on horse from Pegasso Models).
Being an exercise I started with no fear at all to experiment a second time with black primmer. I must say that I received a bottled black primmer from Alex Dumitrescu (owner at machete.ro) and a bran new tip from Lucian Gradila to use it. Well it was not a completely new information. He just convinced me of the importance of using an airbrush. Prior to that I was using a pressure can which I used for spraying my figurines. The result was bad. Pitch black and too glossy.

I imagined my subject on a "windy" base made from a piece of rotten walnut from my yard which after painting to look like rocky cliffs will be adorned with some bristly vegetation to represent the harsh environment from which mongols were coming.
For the painting of the base I used a set of paints for WW1 prussian uniformes, received from the sponsors, as a participation gift at Nicolae Balcescu Memorial House (see the older post below).


After spraying with the excellent AK black primmer, I highlighted almost all the figure with Gunze white. Metallic parts were protected with Bison textile glue (in fact the same substance as most masking fluids).
For the metal parts I applied some Agama buffable paste, highlighted with true metal paste from AK, this being more shiny.
The rest of colors used for skin and garments are from Valejo range, but sometime mixed with Life Colors or other brands acrylics. To reduce the time spent on this subject I sketched some highlights and shadows, just at the time of color application, by altering the base color and rapidly applying darker and lighter shades as the paint was still wet. I hope it will help me later.
In the passed weekend I have to make an incursion at my country home, as some consolidation works are being done there. I seized this opportunity to take my work with me. There is no other place where I have this kind of peace and quite, with only the mountain birds singing in the apple tree near my window.

I have also received a visit from a little guest, trying to catch the last rays of powerful sunshine on this year. I guess it was curious about all those colors and samples of vegetation to be used on this vignette.

Back home I took a photo of my progress. I'm curious what progress will be noticed after a week in the cronofag city.

This will be surely continued...
And so it is....
I worked a little bit every day for some minutes in the morning and evening. It means that I'm in good period. Too bad I'm using this period to finish a copy after all. It shows everywhere that quality. Broad seams that are eating details, parts welded together that became impossible to paint, and the fact that the figurine is assembled.....it's a pleasure to work. I already bent and straighten up the bow and the sword several times. Probably near the end it will break down or become too loose.
Well that's the progress for now. Eyes must be tackle again.

A little more progress. Ruined eyes. I have to redone them. Days of doing nothing are taking their tall.
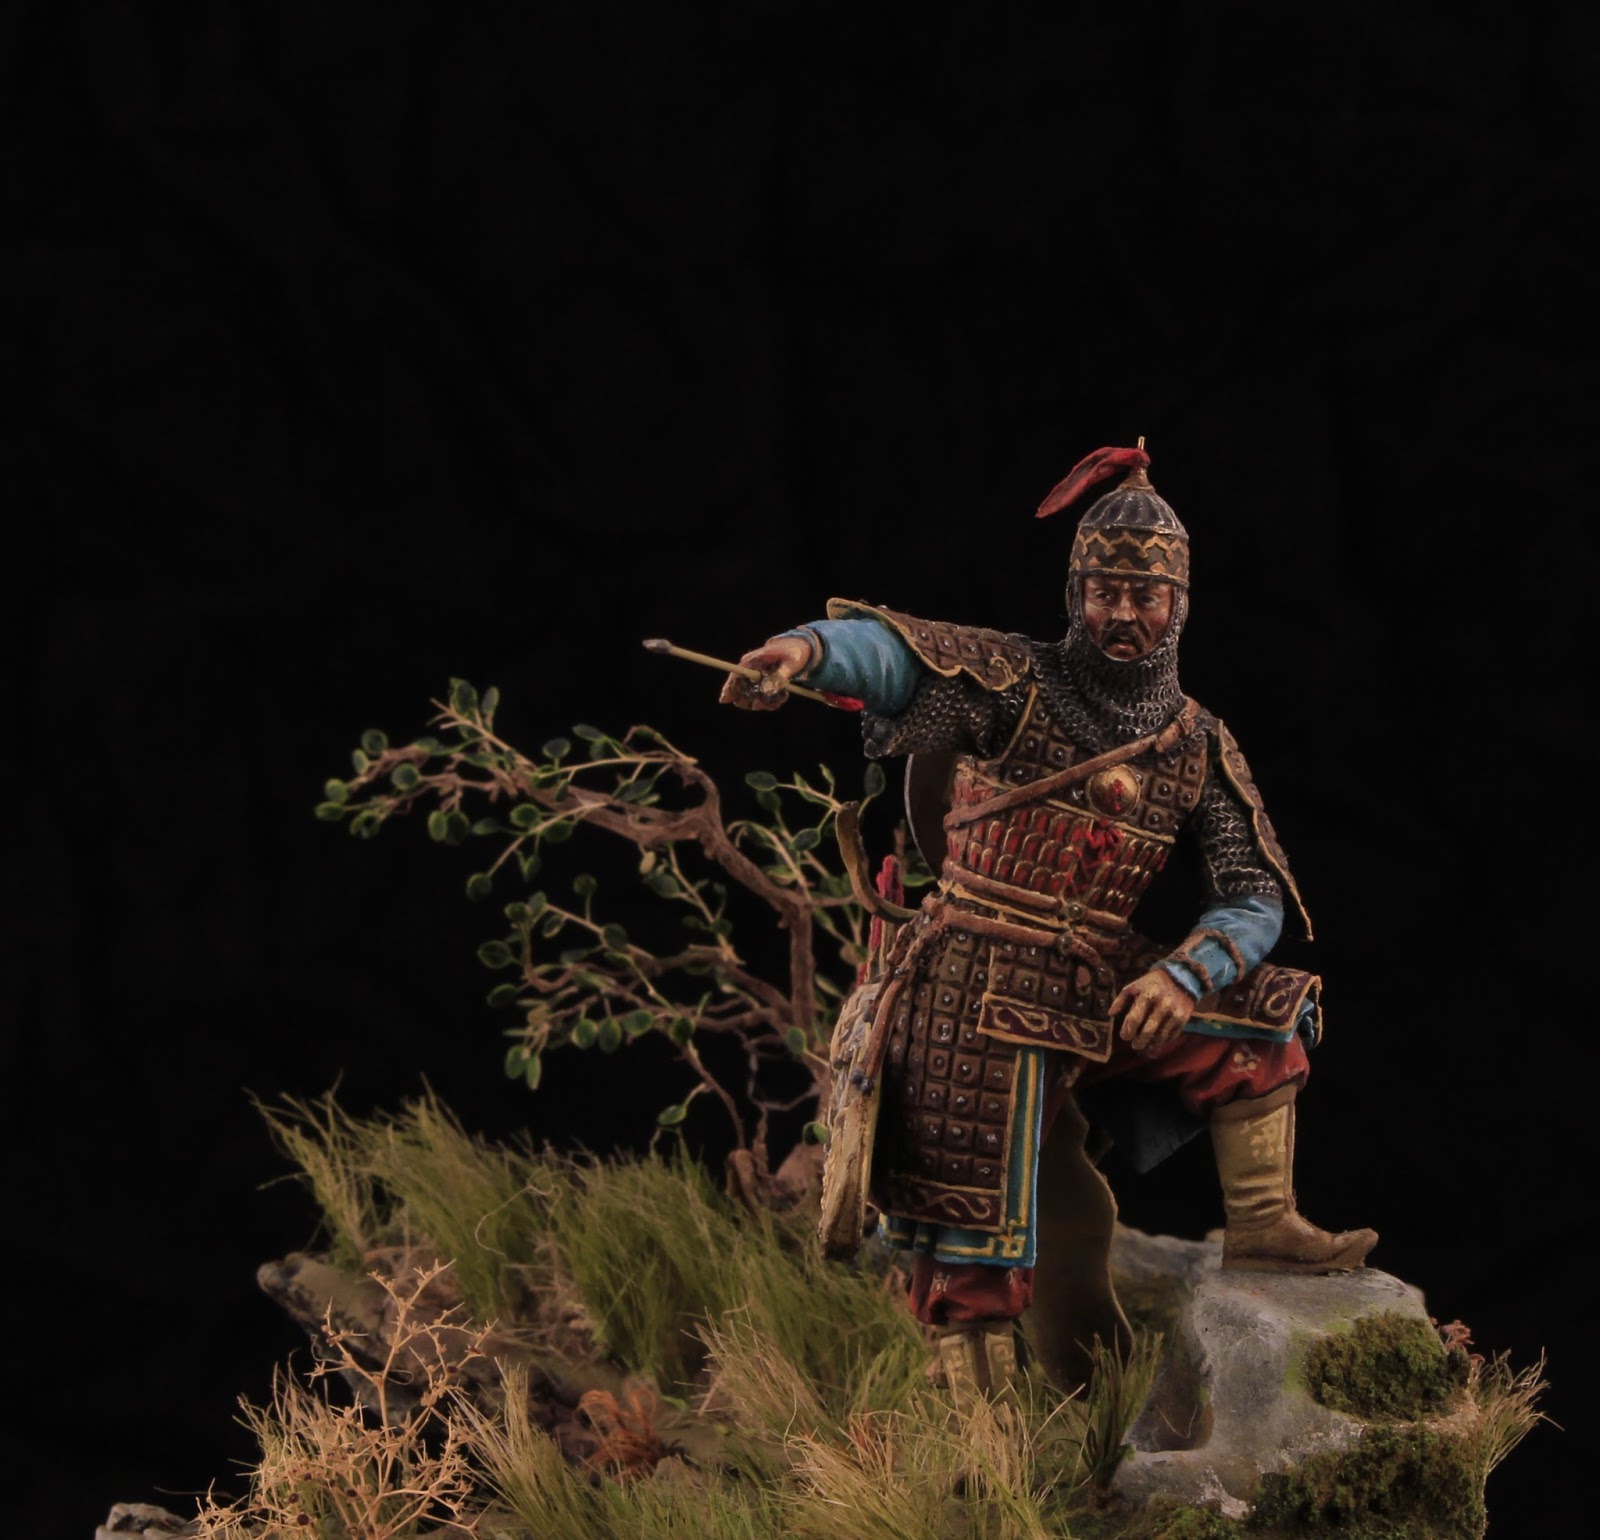
I added a flame of red tinted hair on the point of his helmet.


I reprise the eyes 4 times. In fact just his left eye.
I added some details everywhere. The belts from the equipment are awfully thick and lack definition.
The base has been completed.
It's actually a rotten piece of walnut from my yard, drilled in all directions by insects. Some parts resemble dry crackled ground and I used this to my advantage.
After the integration of the kit base, I added several kinds of grass, from purchased stumps to custom made grass from hemp rope. Moss has been made from shrouded ikebana sponge, secured on rocks with highly liquid super glue. After that, the already green sponge was wash painted with an acrylic dark green diluted with flow aid liquid from Liquitex. That left the compound almost in two shades. After drying for a couple of hours it was dry-brushed with a mix of chlorophyll green and a very light yellow-green.
I added also some different type of moss, some representing different kind of grass stumps and some representing other type of plants, with broader leafs. In a few places I glued some dried plants to represent shrubs.
In the back of the scene it was needed something taller to close somehow the scene. A horse would have been perfect. Unfortunately I haven't one and if i'd postpone again this project it will never come to an end.


The whip in his hand was very thick yet almost loose due to several shocks. First I dreamed about falcon preparing to take flight. Also because of time pressure, i opted to replace the whip with an arrow.
I made the arrow from a hypodermic needle with a plastic point and the end feathers where made from green stuff fixed to the arm and the shaft then pressed in it. After receiving it's paint the shaft was introduced through the pre-drilled hole in the hand and glued to the feathers.
After all this when it was almost finished, a mishandling of the vignette landed it arrow down on the table. So the arrow has been removed, straightened back and then glued back. in the process, paint and primer came off the general's thumb, leaving it bare metal.
The shield received a Mongolian decorative pattern with hearth knots. Here is how I've planned it.


I didn't wanted it to be to crowded. After all it was the shield of a warrior and not a woman's purse.
From the same source I picked a simple decorative model for the undercoat, the trousers and the boots.
The base was manufactured at a carpenter workshop in the neighborhood. I requested it to be left in it's natural color, because I wanted to try something. I tinted the wood in different shades with oil colors. Most dark spots where tinted with burnt umber and the rest with caput mortum violet from Rembrandt oil colors range. The seal with my monogram was obtained from DAS paste, dried at room temperature and then painted red and enhanced with a darker wash. It was glued in place with gel super glue. I found this metallic seal at the flea market and I just had to give it a use.
A few pictures of the finished work


Niciun comentariu:
Trimiteți un comentariu